I’m writing this post before I actually got my finished result, because I’ve just gone out to the garage and looked at the drying rope, and it looks fucking glorious. Just this absolutely beautiful, vibrant red. So fucking hot!
So I’m fairly confident. And also really fucking excited.
I’ve been wanting this kit for AGES. I’ve always been drawn to the idea of vibrant red rope; to me, it’s the colour of passion, of blood, of sex and sensuality. And fuck yes I want that sort of mood, that sort of feeling, in my bondage. Having red rope to lend further expression to that is just such a wonderful idea.
I mean, picture it. This beautiful, pale, naked girl, writhing on a black bed cover, bound tightly in red rope. Red, white and black, in a very sensual scene…
Definitely my idea of a good time. The kind of thing I absolutely love making happen.
I also want to create art with a red rope kit; eventually I want to create fun rope pictures where only the red stands out against black and white; I want to make nifty installations with it, all kinds of stuff.
How I Did It (Reasoning Included)
To start with, I used Tossa Jute; Esinem’s 6 millimetre stuff. This is really, really good quality rope; looked fucking amazing coming off the reel before I’d even done anything to it. Neat, even, tightly laid, no bumps or changes in diameter. No plant bits or anything found in it. A sort of pale golden colour (though I’m told colour can differ between batches).
I chose this rope because after doing a bit of research amongst rope groups, I found that there was pretty consistent agreement that tossa is the kind of jute to go for if you’re going to treat it roughly and wet treat it. Which I knew I’d be doing. I wanted rope that would survive the dyeing process and everything I’ll be doing to it later, and still have a very long use life.
Based on what I’ve read and looked into, your more loosely laid rope like Asunawa or even Osaka Jute is more likely to be damaged by wet treating and dyeing, lessening it’s useful life span considerably. Whereas tossa tends to be more tightly laid, more robust, and generally sturdier. It’s also quite a lot stiffer, so it really benefits from the wet treating process when it comes to making it more useable.
Definitely the choice for the red rope kit I’ve been wanting.

I measured out about 9 lengths of shibari length (8 metres, approximately) and 5 smaller lengths of 4 metres each for column ties, blindfolds, gags, etc.
I then went about getting the materials.
I got two containers of Dylon Tulip Red Dye from Lincraft, Eastgate mall, and yes, checked with the staff that this was suitable for natural fibre rope. Yep, no worries. (Why was I dyeing rope? An art project). That was a bit expensive; cost approximately 30+ dollars. However, I figured two boxes to get the ideal colour I wanted was worth the expense, as opposed to one box which might get me something closer to pink. A reasonable amount of overkill.
I got a two kilo bag of non-iodised salt from PaknSave (I read somewhere when researching that non-iodised is better for the process) for about 3 dollars (this is for fixing the dye to the material – the rope).
And of course gloves – two dollars for two sets of gloves from the Warehouse. Because dye will affect your skin in bad ways if you let it.

My initial idea was to boil the lot (I like to do that with tossa, really makes it flexible faster) and dye it at the same time in an large stock pot (I wanted to do it all at once, so as to get the exact same shade across all of it).
Problem with this plan: giant stock pots capable of doing something like that are hard to come by, and EXPENSIVE. I don’t feel like shelling out an additional 50 + dollars for something I’ll use maybe once or twice. (I’m miserly like that; I’ll spend 350 plus on rope I’ll use a lot, but I dislike buying expensive objects that I’ll only use a couple of times).
I looked into borrowing; but at the end of the day it was less hassle to boil and dye separately.

So I bought a Big Floppy Bucket from the Warehouse, for 15 dollars. It was exactly the right size for the volume of the rope and the amount of liquid I would need, and I could re-use it later on.
I then placed it in the kitchen, and set about making rope soup. Yummy.
I boiled three hanks at a time in my normal sized soup pot, for an hour at a time, then used tongs to transfer them directly into the bucket. I reasoned that boiling would not only make the rope more flexible, but would also expand the fibres, loosening the rope, and allow the dye to penetrate more deeply.

I then transferred the Big Floppy Bucket to the garage before filling it. I used tap water as hot as I could get it, transferring it across using a variety of containers, and also threw in some boiling water for good measure. I then dissolved a kilo of the non-iodised salt in a bucket of boiling water and added that. (I did the salt last so that it would salt the rope reasonably evenly; if I’d done it first it would have over salted the rope at the bottom of the container, and not the rope higher up; this was advice I picked up from Jade, who is super smart, and was totally worth listening to.)
Then I added the dye, and stirred it around for awhile with a length of black pvc pipe I had handy.
I really regret not having a picture of this; it looked like I was soaking rope in a giant bucket of red wine, which is two of my favourite things mixed together. I was too focused on the task at hand to think of it though.
About this time it was decided to get some of the jute twine I use to whip my rope ends, and add that to the mix. I’d already whipped my shibari lengths when measured and cut them, but sometimes whipping comes off, and I thought having more twine dyed the exact same colour as the rope was a good plan.
So I stirred it back and forth for about 30 minutes, then left it for about twenty, then came back and stirred it a few more times. Then I left it to soak overnight.
The next morning, the rope looked dark and burgundy as fuck . I was a bit worried I’d somehow added too much dye. That’s not to say that burgundy is bad – just that it isn’t the bright, vibrant kind of red I’d always wanted.
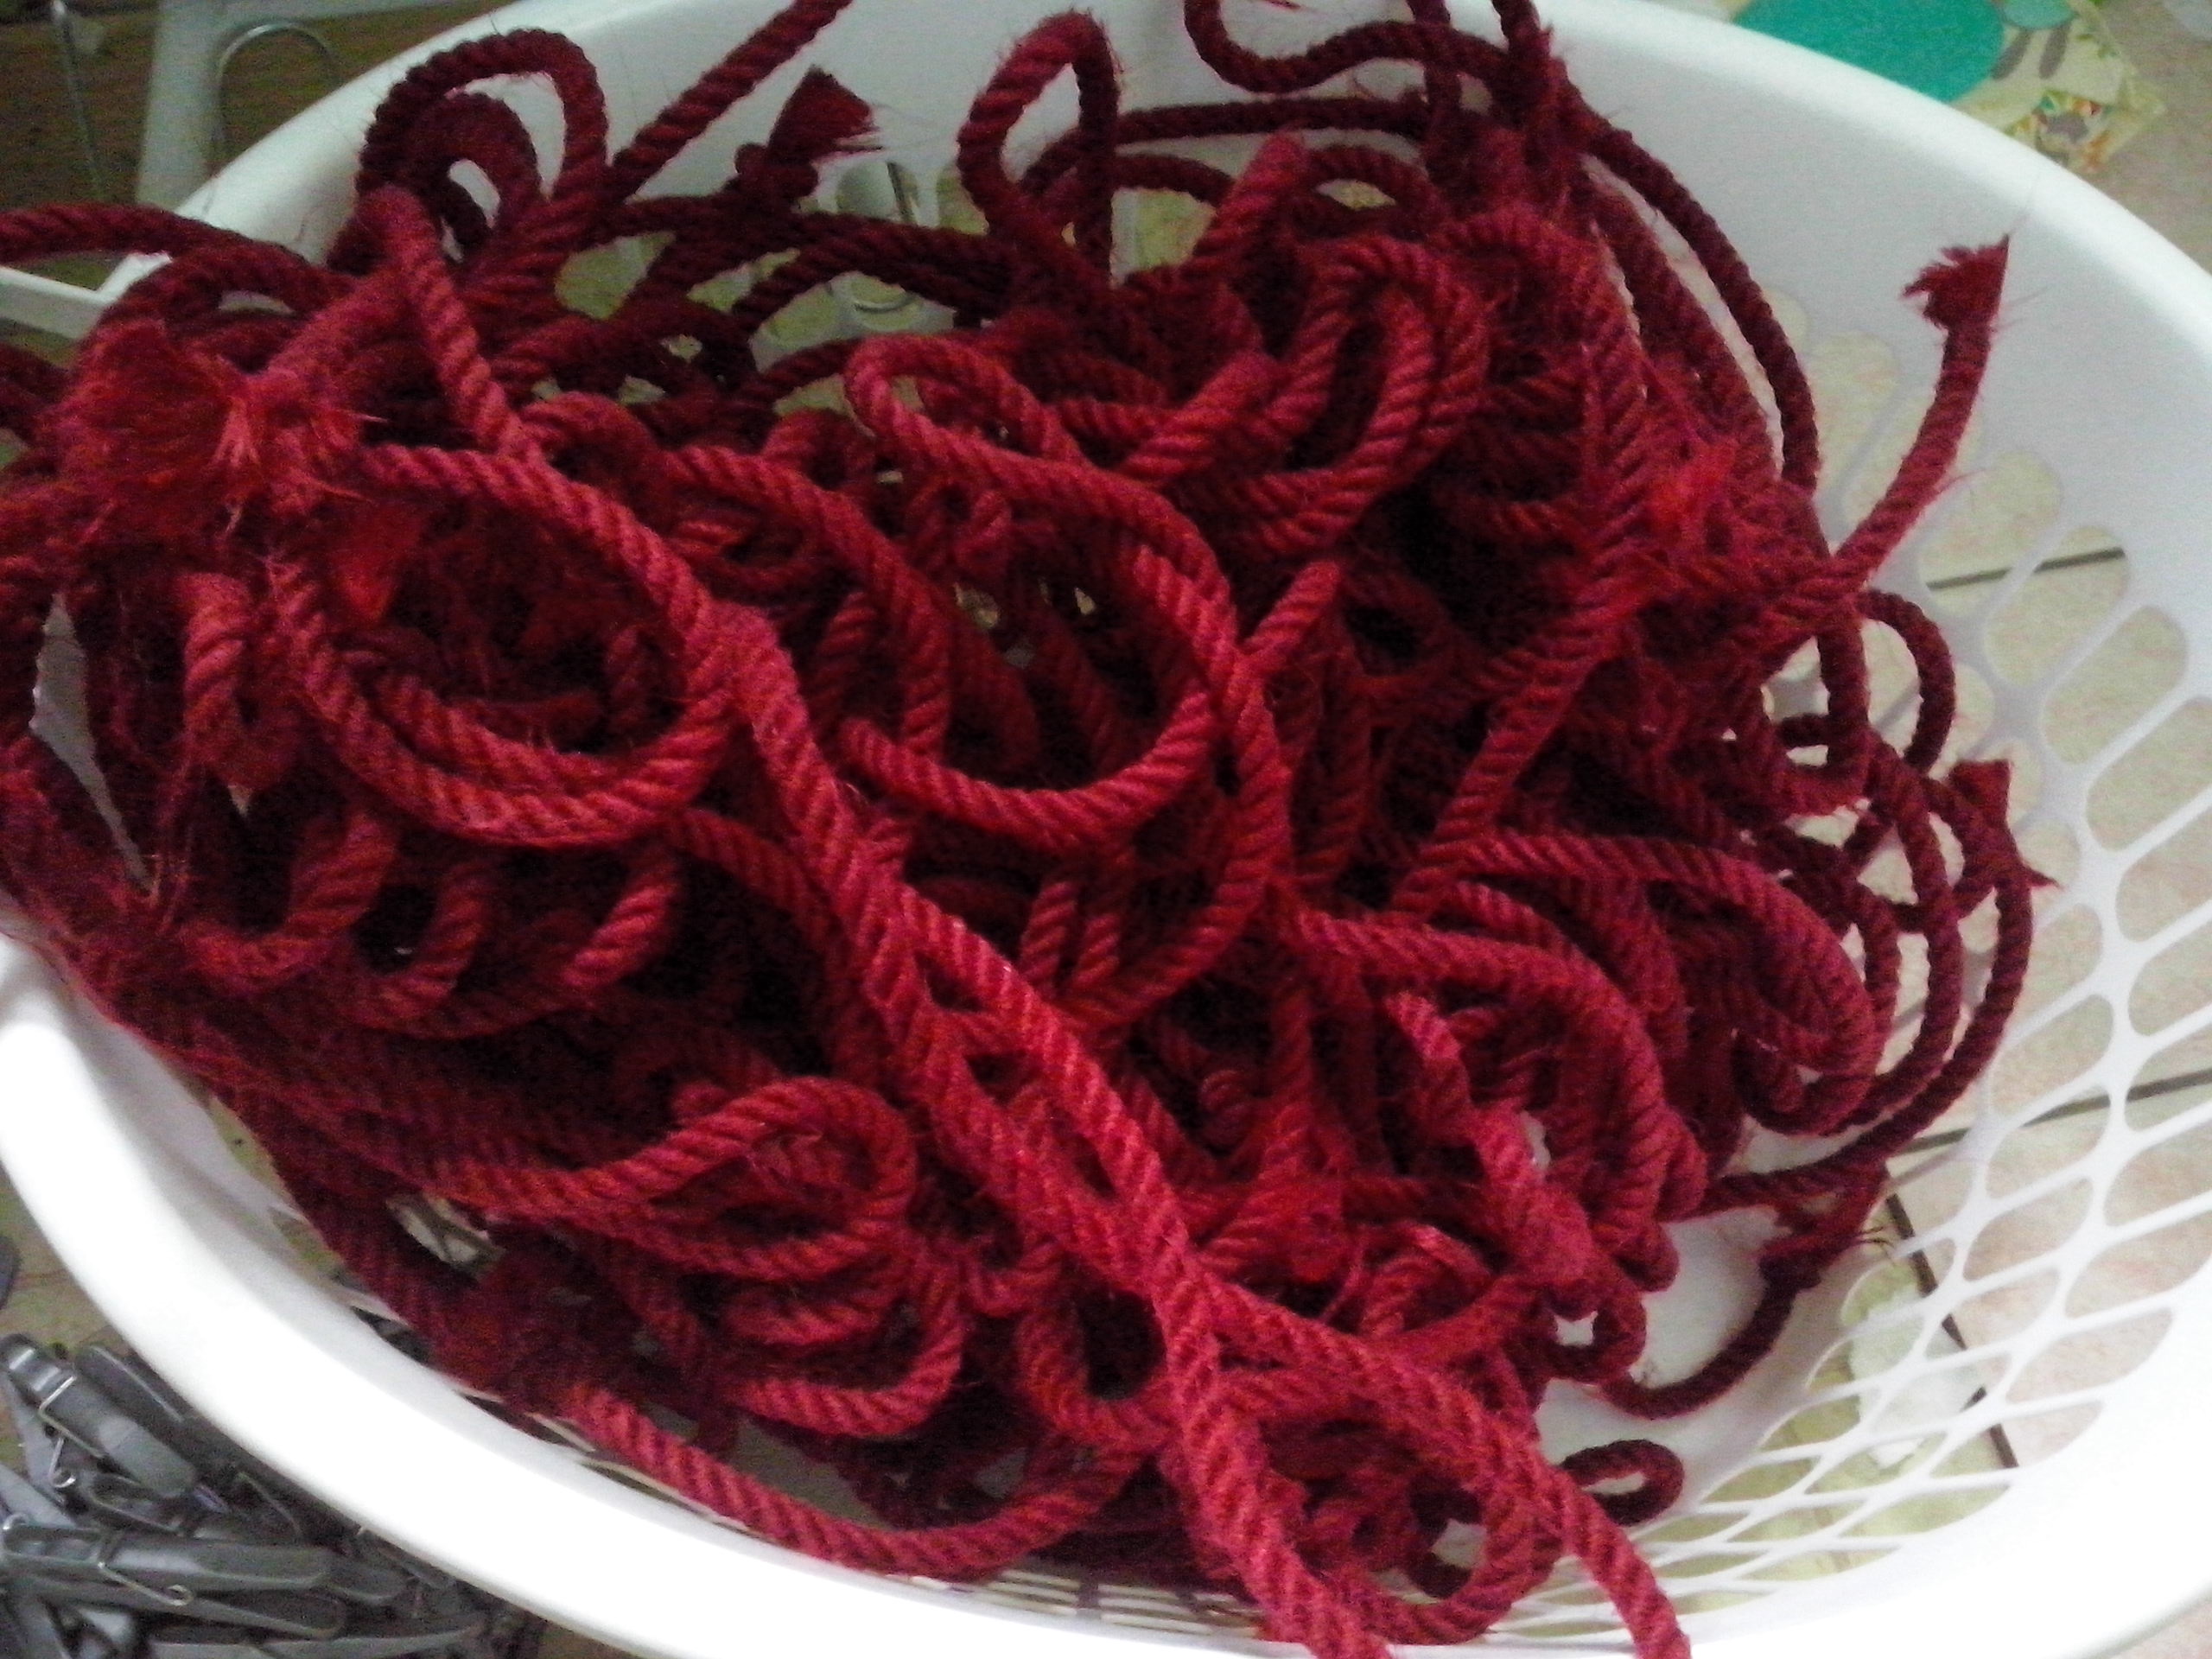
However, when I’d emptied the dye and run the rope through the washing machine a couple of times, it looked like this.

I then started untangling it, tying it to my rafters and stretching it out. Took about thirty minutes (mostly the untangling part). It’s an odd feeling, feeling it stretch in your hands like that. It’s also an opportune moment to adjust your rope diameter; if you want it thicker, don’t stretch it much; if you want it thinner, stretch it as hard as you can. So hung that and my nicely coloured twine up to dry, which will probably take a few days at least.

It’s the next day now, and the rope has dried somewhat, which means it’s brighter and more vibrantly coloured. I’m loving how it looks already. It doesn’t show up as well in the pictures, but trust me when I say it is definitely brighter to the naked eye.

So this is looking really successful so far; I’m really excited!
Once I’ve finished the conditioning process, I think I’m going to have a fucking amazing rope kit, and it will be RED.
Update:
I learned some useful things following this. The first thing I learned is that tossa jute does have a really tight lay; so it’s helpful to “untwist” sections of your rope slightly and feed it into the dye as you do. What happens when you don’t do this is that the inner core of the rope remains brown, which gives you flashes of brown as you tie. I found that distracting, so me and a friend re-dyed the whole lot. A note about untwisting; all you have to do is get a grip on the rope with two hands, the hands separated by a handspan or two, and twist opposite the lay. The rope between your hands will loosen, and expose the core. This is when you dip it into the dye, one length at a time. Yes, it’s a slow process. Try listening to interesting podcasts as you do it; I highly recommend “Welcome To Night Vale”. By the way – this process can and does cause blisters, but if you really want solid color all the way through, it’s worth it. Definitely wear some gloves so as not to dye your skin.
A second note: after I dyed my rope, I initially treated it with my usual wax. This turned out to be a mistake. The color dulled considerably, from bright and attractive red to a dull burgundy. Rather than use a wax treatment on dyed rope, if you want to maintain your color, I suggest using an oil treatment instead. For more information on this, look here “How To Customize The Feel of Your Rope”.


Your rope colour looks amazing – it reminds me of raspberries. I’ve boiled and conditioned rope (hemp) before, but never dyed it. Now I’m considering it! I really appreciated that you discussed why you chose the jute type you did, as well.
Many thanks,
xx Dee
No problem at all. What kind of conditioning process do you use for hemp? I’m wondering if it’s any different from what I use for jute – would be very useful additional information to pick up before I did a “conditioning your rope” post.
When I got my hemp rope it was 10mm and raw. My best friend got some at the same time, and carefully burned off the loose fibres for us. Then I cut and chained it, and boiled them in the stock pot – did that a couple of times. For drying I stretched them around (and around, and around) chairs in the sun on the porch. After all of that was done, conditioning was the fun part – I found a hand conditioner that a) didn’t have nasty things in it and b) smelled good – and just spend a few days, off and on, slapping some on my hands, running the rope through and rubbing it in. I did that about four times, which used up at 500ml bottle.
Once all the conditioning was done I whipped the ends and the centre-points, and it was time to have some play time!
It’s been *thinks* eight years now, and a couple of washes (in a pillowcase in the machine), and there’s still a very faint hint on that conditioner aroma. And the condition remains great 🙂
xx Dee
That’s really interesting. I’ve got a friend who also used hand cream on his as a final finishing agent; according to him it makes the rope amazingly soft, and yes, he also reports it has a really nice smell for awhile. How did you find 10 mil diameter for bondage? My own experience is mostly with 5 – 6 mil; I’ve heard that when you go thicker than that it makes for a more cumbersome sort of experience, but I’ve never tried it
I quite like the 10mm, but I only use it in certain circumstances – my 6mm gets a lot more use, as I can use it for most everything. That said, I have a lot of photos – and words – about both on the blog, if you look in the rope tag.
xx Dee
I’ll definitely do that just as soon as I get some time with my home computer, most likely this evening. Just a heads up about dyeing your rope; since I’ve dyed mine I’ve also treated it with beeswax and jojoba oil. I’m actually uncertain about what that will do to the life expectancy of the colour (it did lose a little vibrancy and dulled a fraction after treatment) but it remains to be seen what will happen to the rope colour as it ages and breaks in.
I suspect the handcream treatment is a lot gentler and will likely pose less risk to colour, but I’ll update once I know more
Will this work with that cheap cotton dye you get at dollar stores?
I’m guessing you mean cheap cotton rope; I’ve heard that it does, IF you double the amount. I know someone who got herself some very nice purple rope that way
Yea. Thats what I meant. Thanks. Ill have to try that
Good luck 🙂